Tuesday, August 21, 2012

Holy Homemade Hummus!


I have been meaning to make hummus for ages.  Store bought varieties are a staple of my lunches...with veggies, on pita, sometimes with pretzels or chips.  I adore every variety I've tried...plain, garlic loaded, spicy.  With olives or roasted red pepper.   The only thing that bothered me was a slightly artificial acidic flavor that nagged every brand I'd ever purchased.  I suspected the only solution was to make my own.


adapted from Cook Eat Live Vegetarian


yields about 1 1/2 cups

The Ingredients:
1 - 14 oz can garbanzo beans
3-4 Tbsp tahini
2-3 cloves of garlic
3-4 Tbsp lemon juice
1/4 tsp salt
oil, cumin and paprika to serve

The Process:
In a large bowl, thoroughly rinse the garbanzo beans, gently squeezing and rubbing the beans together to loosen the skins.   Skin the loosened skins off the top of the water.

Transfer the beans to a medium sauce pan.  Add just enough water to cover.  Bring the water to a boil, reduce heat and simmer the beans for about 12-15 minutes, or until soft.

Drain the chickpeas, reserving about 1/4 cup of the liquid.   Rinse, again while gently rubbing together to loosen and remove any remaining skins.  This may sound incredible tedious, but the extra step yields an extra creamy end product!

Transfer the beans to a food processor.  Add the tahini, garlic, lemon juice and salt.  Process until smooth, adding reserved liquid 1 Tbsp at a time until the desired consistency is achieved. 

Spoon the hummus to a serving dish.  Drizzle with olive oil and sprinkle with cumin and paprika.  Serve with pita, veggies or chips.

The Review:
I made this to enjoy with lunch.  I almost sat down with the entire batch and a spoon...it's that good...

Homemade pitas to follow!

Friday, August 17, 2012

Stout S'mores Bars


I have many, many recipes bookmarked or flagged...online, in cookbooks, clipped from magazines or newspapers.  It will take me years to cook my way through all of them. But I carry on.

Very rarely do I come across a recipe that I need to make immediately.  The Beeroness has that effect on me.  You've seen a variation of her bacon jam.  And  beer marinaded pork chops.  A sriracha stout BBQ sauce.  Ale biscuits.  Her recipes inspire and encourage me like few other bloggers do. Perhaps it is my mild obsession with craft beer and home brewing.

This recipe is one I made the very same day that I found it.  I almost couldn't wait for the bars to cool down before I dug in.  Jackie's recipe uses Young's Double Chocolate Stout...a very tasty beer on its own.  Due to my impatience, I made due with the stout i had on hand, as well as the baker's chocolate in lieu of her chocolate chips.   

Still with the substitutions, I'm glad I didn't wait...

yields 12 bars

adapted from the Beeroness

Ingredients:
10 graham crackers
4 Tbsp butter, melted
2 Tbsp brown sugar
3 eggs
1 cup white sugar
1/2 cup brown sugar
4 oz semi sweet chocolate, chopped
1 stick butter
1 cup cocoa powder
1/2 tsp salt
1/2 cup flour
3/4 cup stout
24 large marshmallows


The Process:
Preheat oven to 350

Add the graham crackers and the brown sugar to a food processor and blend until an even crumb is formed.  With the food processor still running, slowly drizzle in the melted butter.  Process until the mixture resembles wet sand.

Spoon the crumb mixture into a 9 x 13 pan and press into an even layer.

In a medium  bowl, beat the eggs and both sugars on high until well combined, about 3 minutes.

Combine the chopped chocolate and butter in a microwave safe bowl. Microwave on high for 30 seconds at a time, stirring and repeating until melted and well combined. Allow to cool slightly.  Add the chocolate to the egg/sugar mixture and beat until well combined.

In a separate bowl, sift together the cocoa powder, salt and the flour. Add flour mixture to the chocolate mixture, mixing until well incorporated. Add the beer and stir until just combined.
Pour the batter over the crust and spread into an even layer.

Place marshmallows in even rows across the top, leaving a 1/2 inch boarder along the edge.
Bake at 350 for 20 minutes or until the marshmallows are golden brown.

The center of the bars should be soft but not soupy.  They will continue to set at the bars cool.  Allow to cool and cut into bars.

The Review:
Can't type...fingers sticky....


Wednesday, August 15, 2012

Roasted Green Beans

Every week I've been treated to huge bags of fresh green beans.  These are our veggie of choice when preparing a last minute meal, but even we cant keep up.  I've take to blanching and freezing most of the fresh green lovelies within a day after getting them.  I'd say we're pretty well stocked for the winter.

But we can't forget to enjoy some of the bounty at it peak of freshness.  This preparation was wonderfully simple and quick to throw togther.


recipe courtesy of Driftless Organics

serves 4-6

The Ingredients:
1½  lb. green beans, trimmed
2 Tbsp olive
salt and pepper to taste
2 cloves garlic, minced
Zest and juice of 1 small lemon


The Process:
Preheat the oven to 450.  Place a large sheet pan in .  Toss beans in oil and sprinkle with salt, and pepper. pepper.  When the sheet pan is hot remove, from oven and slide the oiled beans onto it in an even layer.  Return tot he oven and roast for about 5-7 minutes, or until beans are starting to caramelize on the outside.

 Immediately stir in garlic and lemon zest.  Drizzle with lemon juice right before serving.

The Review:
Have I mentioned oven roasting makes everything better?

The original recipe called for a generous dousing of Parmesan cheese.  I did not have fresh Parmesan on hand...only the sad green shaker of preservative laden topping.  Rather than sully the wonderfully fresh flavor and caramelized glory of this simple preparation, I nixed the cheese.

The salt and pepper added just enough extra flavor...the lemon juice just a touch of brightness. 

Oven roasted...must remember to do this more often...

Monday, August 13, 2012

Moroccan Grilled Eggplant and Squash

Need a few new ideas for all of those zucchini and eggplant bursting forth from the garden this time of year?  Prepare to heat up the grill!


recipe courtesy of Driftless Organics

serves 4


The Ingredients:
1 medium eggplant, sliced into 1/3” thick rounds
1 large summer squash, sliced lengthwise into ¼” thick planks 
2 cloves garlic, minced 
1 Tbsp lemon juice 
1 Tbsp olive oil
¼ tsp ground cumin 
½ tsp Hungarian paprika 
1 Tbsp fresh mint, chopped
1 Tbsp fresh parsley, chopped 
 Salt and pepper to taste

The Process:
Brush the eggplant and zucchini with oil and sprinkle with salt and pepper.

Grill or broil over high heat until soft and slightly charred, about 5-7 minutes per side.  Allow to cool slightly.   Chop coarsely and toss with remaining ingredients.

 Serve warm or room temperature with crusty bread or toasted pita.

The Review:
 I enjoyed this dish for several days of lunch.  Broiled or grilled, the eggplant didn't have the bitter or slightly slimy characteristics some unfairly pin on it.  Garden fresh and on the smaller end, the eggplants I used were almost sweet. 

The fresh garlic, paired with herbs and cumin was a huge hit (while for me anyway...I am a bit heavy handed on the garlic...I'm sure a few of my co-workers may have had an objection).

Perhaps a squirt more lemon next time around...

Saturday, August 11, 2012

Carrots with Garlic and Cilantro


Carrots, carrots carrots.  Enjoyed raw with dip.  Oven-roasted.  Stir-fried.  Brown sugar glazed. Tossed into soups, fried rice or casseroles.  It is a vegetable we go through a lot of in this household.   Thanks to our CSA, we now have another simple method of preparing this bright orange jewels.

recipe courtesy of Driftless Organics

serves 4

The Ingredients:
2 lbs carrots
Salt & pepper to taste
2 cloves garlic, minced
1 Tbsp olive oil
1 tsp fresh lemon juice
2 Tbsp fresh cilantro, chopped


The Process:
Clean the carrots and slice on the bias into 1/2-inch pieces.

Add the carrots to a medium saucepan with just enough water to cover. Bring to a boil over medium-high heat.  Cover, reduce heat and simmer the carrots until almost tender, about 8 minutes.  Add salt and pepper to taste.  Continue to cook another 6-8 minutes uncovered, until liquid is reduced.  Drain any remaining liquid.  Toss carrots with garlic, oil, and  lemon juice.  Cook another minute.  Stir in cilantro and serve warm.

The Review:
Simple. A little over cooked...but I  fault the cook, not the recipe.  I adored the bite of fresh garlic and crispness of the lemon on top of the carrots' natural sweetness.  The cilantro I would not have missed much.  I suspect the recipe would be equally as tasty with another herb sprinkle.  

Thursday, August 9, 2012

Garlic Dill Pickles

I while back I wrote about some of the canning adventures I undertook to overcome the influx of produce upon us.  Well, the day of reckoning is upon us.  The dill pickles have fully pickled and are ready to share world.  I'm sure the remaining jars will improve with age.

I however, am far to impatient to wait much longer before sampling the fruits of my labor.

Adapted from recipes at epicurious and food in jars

yields 3 one-pint jars

The Ingredients:
3-4 cucumbers
3 cloves of garlic, peeled and bruised
3 spring of fresh dill
3 tsp pickling spice
1 1/2 cups water
1 1/2 cups white vinegar (apple cider vinegar can be substituted)
1 1/2 Tbsp salt

The Process:
Sterilize the pint jars and lids in boiling water.  Keep warm until ready to use.

In a medium saucepan over high heat, bring the vinegar, water and salt to a gentle boil..

Wash the cucumbers and slice into spears or coins.  To each  jar add a sprig of dill, one bruised clove of garlic, 1 tsp of pickling spice.  Distribute the cucumbers evenly among the pint jars, being sure to pack them tightly in without damaging.

Carefully pour the hot brine over the cucumbers, stopping 1/2" from the lip of the jar.  Wipe the rims of the jars clean and top with lids, screwing them finger tight (not TOO tight). Submerge the  filled jars into a water bath of boiling water and boil for 10 minutes (process times may vary by elevation).

Remove the jars from the water and allow to cool.  Test the seals and reprocess any that have not properly sealed.

Store in a cool, dry place.  Pickles are ready to eat in about 1 week.  Will store for up to 1 year.

The Review:
Homemade pickles.  Better than store bought?  Perhaps to some.  These are not the Heinz Genuine Dill...in all their moth puckering glory.

But these pickles certainly aren't bad.  I have one small complaints...one I know I can rectify for next time.  First...this pickling spice I used was WAY too heavy on the cloves.  Note to self...make own pickling spice and stick with dill seed, corricader and peppercorns.

The texture threw me at first.  The slices weren't as crisp as I was expecting.  They improved remarkable once they was chilled.  And in retrospect...store varities really aren't that crisp either.

Next up, I believe is a jar or two of whole pickle, instead of slice or spears.  Time for a trip to the farmer's market...


Tuesday, August 7, 2012

Eggless Blackberry Boy Bait


I love alliteration, don't you?

I know. I know...egg-less doesn't fit in with the beautiful bounty of b's.  But it is the reason I first came upon the recipe.  You see, I had an itty-bitty box of breathtaking blackberries and nary a use for them.  They had been glowing, at their peak of ripeness.  I couldn't let these beauties go to waste.

Only, I didn't have any eggs.  Nada.  Zilch.  Ross made frequent offers to run to the store at 9 pm to gather what I lacked, but I vehemently refused.  We had planned our grocery shopping for the next day and I refused to let him make the extra trip for one ingredient.  I was determined to find an egg-less dessert. 

And I had wonderful success courtesy of the husband and wife team at Chef In You.

So what is a boy bait?  From what I've gathered among various sources, a 15 year-old girl submitted a butter-loaded blueberry cake a Pillsbury bake-off in 1954.  She dubbed it boy bait for its ability to lure in the opposite sex.  I'd go so far as to say this cake could lure in almost anyone.  It won second place.  To what?  I'm not sure.  Pillsbury's website is sadly lacking any reference to boy bait..

The treat is reminiscent of blueberry muffins--indeed it is traditional made with blueberries--but baked up in a single layer, allowed to cool and cut into squares.  This version earns its egglessness thanks to the addition of yogurt.  But all of the buttery goodness remains...

adapted from recipes at the Chef In You and Smitten Kitchen

serves 12+

The Ingredients:
2 cups all-purpose flour + 1 tsp
1 Tbsp baking powder
1 tsp salt
1 cup unsalted butter (2 sticks), room temperature
3/4 cup brown sugar
1/4 cup granulated sugar
1 cup yogurt
3/4 cup milk
1 tsp vanilla extract
1 cup fresh blackberries
1/4 cup cinnamon-sugar

The Process:
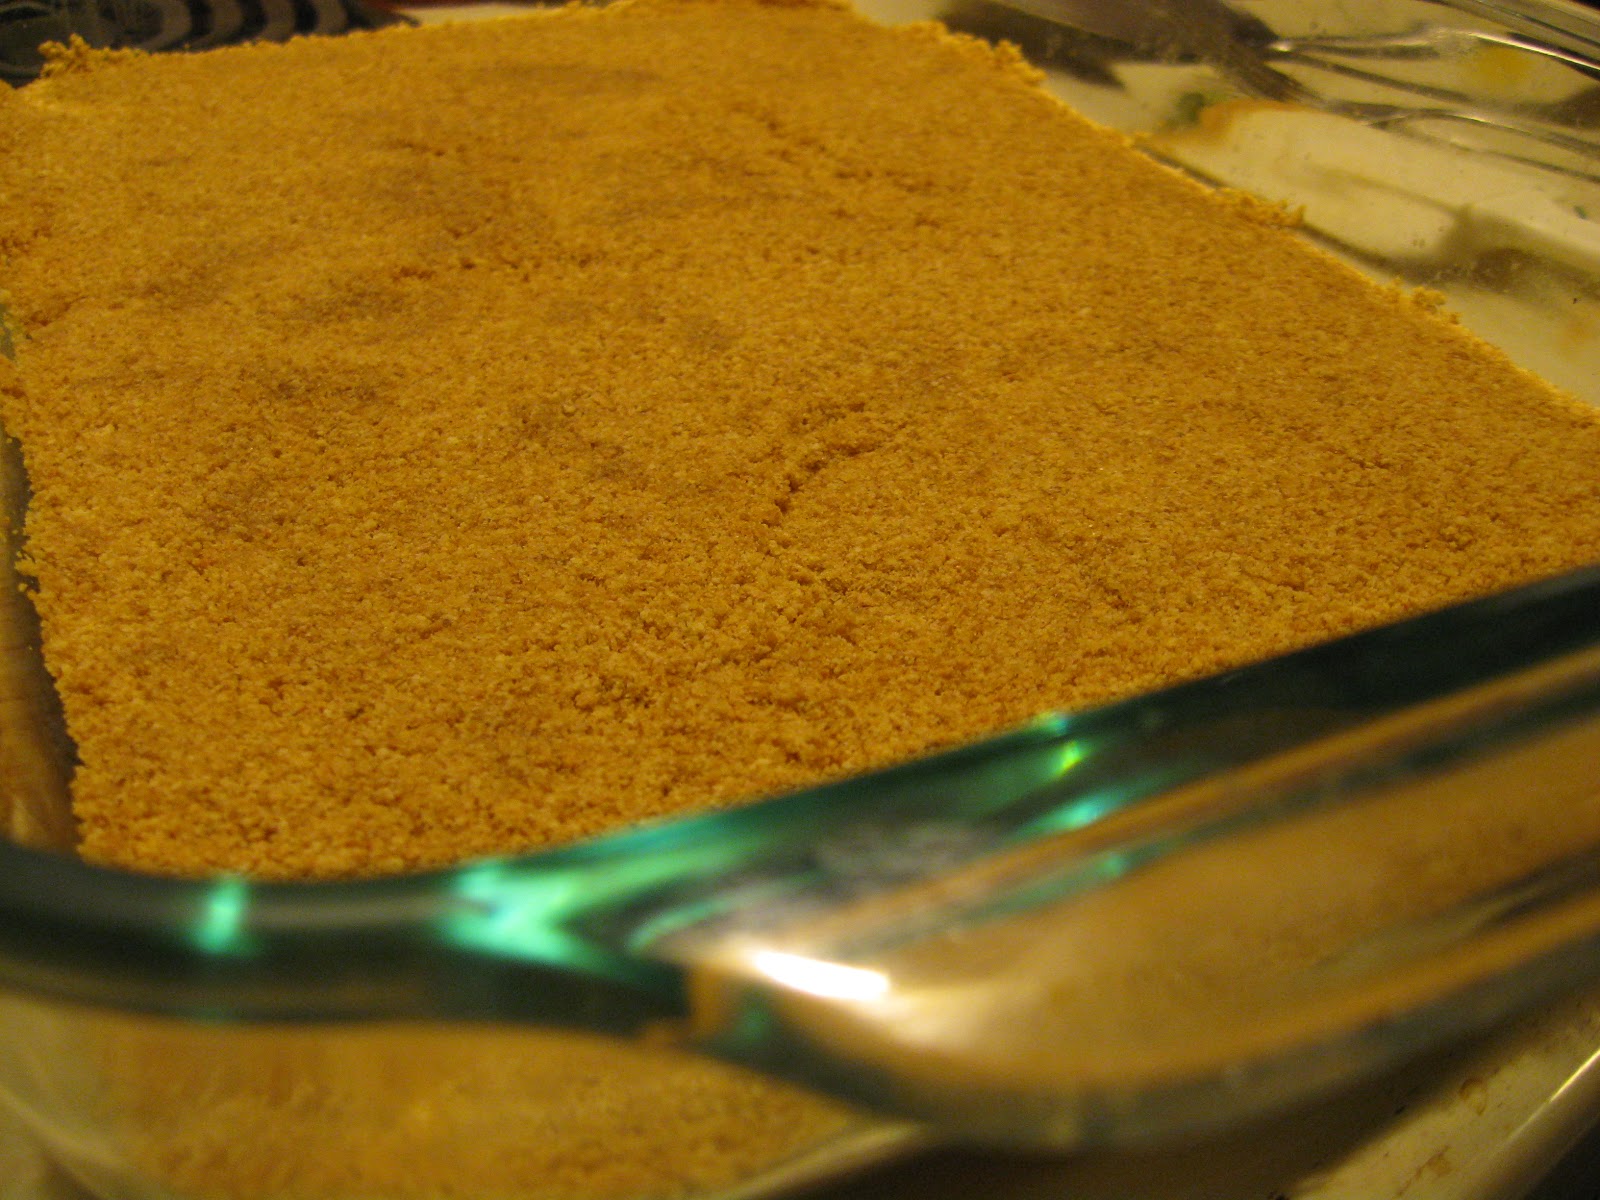
Preheat the oven to 350.  Butter a 9 x 13 baking pan and dust with flour.

Whisk together the flour, baking powder, and salt in a medium bowl.  Set aside.

In a large bowl, cream together the butter and sugars, beating until fluffy, about 3-4 minutes.  Beat in 1/2 cup of the yogurt, 1/4 cup of the milk and the vanilla.  Fold in 1/3 of the flour mixture.  Add the remaining yogurt and mix well.  Fold in another third of the flour, followed by the remaining milk.  Add the remaining flour and mix until just combined.

Toss 1/2 cup of the blackberries with 1Tbsp of flour. Gently fold the berries into the batter.  Spread the batter evenly into the prepared pan.  Distribute the remaining berries over the batter.  Sprinkle with cinnamon sugar. 

Bake for 45-50 minutes or until a toothpick inserted into the center comes out clean.

Cool in the pan for at least twenty minutes.  Remove the cake from the pan to a serving tray and allow to cool completely (if you can!)  The cake will be far easier to slice once cool. 

The Review:
My first attempt at this recipe was incredibly tasty.  But I did a very stupid thing.  Instead of using the 9x13 pan recommended, I reached for my 9-inch cake pan.  The batter filled the pan almost to the brim.  I feared an overflow and placed a cookie sheet on the rack below, lest the cake ooze all over the bottom of my oven.  I had to add nearly 15 minutes to the bake time.  The toothpick came out clean. 
The toothpick test deceived me.

The center of the cake quickly collapsed into a pile of nearly raw batter.  You can barely tell from the photos.  We still enjoyed it.  Well...most of it...

Attempt no. 2 was a much bigger success. My husband insists this treat is laced with crack...


Sunday, August 5, 2012

Bacon Jam

Yes.  You read that right.  Bacon.  Jam.  As in spreadable bacon.

Oh...and there is beer in there mix as well.

yields one pint jar

adapted from The Beeroness


The Ingredients:
12 oz bacon (8-10 strips)
4 cloves of garlic, minced
1/2 cup onion
8 oz amber ale
1/4 cup apple cider vinegar
3/4 cup brown sugar

In a large saucepan or dutch oven, fry the bacon until crispy.  Work in batches as necessary.  Alternatively, you can bake or microwave the bacon to the desired level of crispness.  Remove the bacon from the pan and blot off any excess drippings.  Allow to cool and then roughly chop. Reserve about 1 Tbsp of the bacon drippings and discard the rest.  

Add the dripping to the  pot along with the onions.   Cook the onions over medium-high heat until the onions become translucent and tender, about 3 minutes. Add the garlic and stir for about 30 seconds. Slowly add the amber ale and vinegar, scraping the bottom of the pot to deglaze.  Add  the brown sugar and the bacon.  Reduce the heat to simmer a simmer and cover, keeping the lid slightly tilted or offset to allow steam to escape.  Stir occasionally and cook until the mixture is  reduced to a thick and syrupy consistency, about 45-60 minutes. Transfer to a food processor and pulse until a coarse paste is formed.

Serve at room temperature.

Will keep in the refrigerator for about two weeks...if it lasts that long...

The Review:
There will be skeptics.  Let them be suspicious.  It will leave far more of the salty, meaty, slightly sweet and boozy wonderfulness all for you...

We tried it on burgers.  We tried it on biscuits.  We refrained from eating it by the spoonful.

Friday, August 3, 2012

Thai Inspired Stir Fried Eggplant

Every week has become a challenge to use up as many veggies as possible before our next box arrives from the farm.  Even for a three adult household, a full bushel is a lot to take in!  The last few weeks a huge amount of produce is immediately blanched and frozen, pickled or otherwise canned.  To date I have about 3 pound of green beans, a scant pound of sugar peas, 6 jars of dill pickles, and 2 jars of pickled peppers already stored away.  Pickled beets, more pickled peppers and possibly even some sauerkraut  will all be in the works in the coming days.  And we haven't even come into tomatoes yet!  Oh the sauces and salsas that are to come!  I'll be sure to post a few canned goodies down the road...

But back to this week's veggies.

Eggplants.  Lots of them.  One large deep purple Italian variety and several beautiful Japanese eggplants.  Such a gorgeous pale lavender.  They were almost too pretty to eat...

I do make eggplant on a fairly regular basis, but I never have this much to use up in so short a time.  I wanted something quick that featured this veggie, so I looked to Thai food for inspiration.  Added bonus...the onion, garlic and basil were all part of this week's CSA box as well!

adapted from a recipe at About.com, of all places!

serves 3 


The Ingredients:
1 small red onion, diced
6 cloves garlic, minced
1-3 red chillies, juilienned
3   Japanese eggplants
2-3 Tbsp sesame oil 
2 Tbsp soy sauce
1 Tbsp fish sauce
2 Tbsp oyster sauce
2 tsp brown sugar
1 tsp cornstarch dissolved in  2 Tbsp water
1/2 cup fresh basil

The Process:
Slice the eggplant in half lengthwise and slice into 1/2-inch pieces.

Heat the oil in a large skillet or wok set over medium-high heat.  Add the onion, half of the garlic, chillies, and eggplant.  Saute for 5 minutes, adding water a Tbsp at a time to keep the pan from becoming too dry.

Add the soy sauce and continue stir-frying for 5 more minutes, or until the eggplant is tender.   Whisk together the fish sauce, oyster sauce and brown sugar.  Add to the skillet with the remaining garlic.  Mix until the eggplant is well coated.

Add the cornstarch/water mixture. Stir well so that the sauce thickens uniformly. Remove from heat.

Add three quarters of the basil to the eggplant and allow to wilt.  Garnish with remaining basil.  Serve with rice.

The Review:
The dish isn't much to look at, but don't judge a book by its cover...or an entree by how photogenic it is...

The taste speaks volumes!

I had my suspicions when I started adding the sauces.  Well, one sauce in particular.  Oyster sauce.  I love the deep unami flavor this pungent sauce adds to dishes, but when I'm cooking...oh that smell...I won't describe it lest it discourage you, dear reader, from trying this dish.  But don't be turned away.  The pungent aroma is nothing like the wonderful depth the sauce will add to the dish.

I was also surprised how fragant and at times overpowering the basil ended up being.  Most of us tried a leaf or two in the first forkfuls, but then began to eat around the herb, lest the eggplant be overpowered.

Though depending on your spice level, this may not be an issue.  Our heat was set to "wuss"


Wednesday, August 1, 2012

Ginger Walnut Granola with Dried Cherries

I wanted a quick and easy snack to throw together before Ross and I headed out camping a few weeks back.  Gorp and granola bars often make up the bulk of our snacking once we've hit the hiking trails, but I wanted something beyond the store bought fair and run of the mill peanuts and raisins.

This recipe came to the rescue.  The base of this can be made up on its own, or dressed up with any combination of nuts, dried fruit and spice.  This version takes advantage of walnuts, ginger and cherries to up the ante.

adapted from Men's Health, Nov 2011

yields about 4 cups

The Ingredients:
3 cups old-fashioned rolled oats
1/2 cup chopped walnuts
1/4 cup apple juice
3 Tbsp maple syrup
1 Tbsp brown sugar
1 Tbsp vegetable oil
1/2 tsp vanilla extract
1/4 tsp salt
1 tsp ground ginger
1/2 cup dried cherries


The Process:
Preheat the oven to 325°F.  Line a small, rimmed baking sheet with foil.  evenly spread the oats over the sheets and sprinkle with the walnuts.  Bake until crisp and fragrant, about 20 minutes.

Whisk together the juice, maple syrup, brown sugar, oil, vanilla, salt,  and ginger. Pour the mixture over the toasted oats and toss to coat.  Return to the oven and bake until crisp and browned, about 20 minutes more.

Allow the oats to cool, toss with cherries.  Store in an airtight container for up to 2 weeks.

The Review:
This granola blows most store bought varieties out of the water!  The oats crisp up so well and are bursting with a deep nutty flavor.  The ginger spices thins up with just a touch of warmth.  And the cherries provide a deliciously tart burst of flavor as well as some added texture.

My only complaint was that the granola did not clump together nearly as much as I hoped it would.  My granola was a loose mixture of oatmeal and additions, as opposed to granola's more desirable clusters.  That being said, this treat still works incredibly well atop yogurt or even as a cold cereal.  It is just a little tricky to eat on the trail...